To start open the image you want to add a mask too and the mask image you want to use.
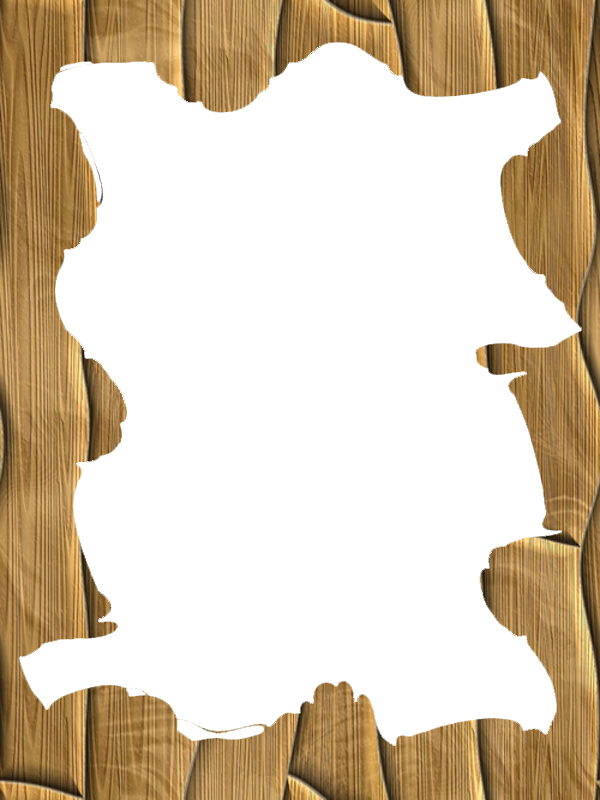
I’m using the below image for this tutorial
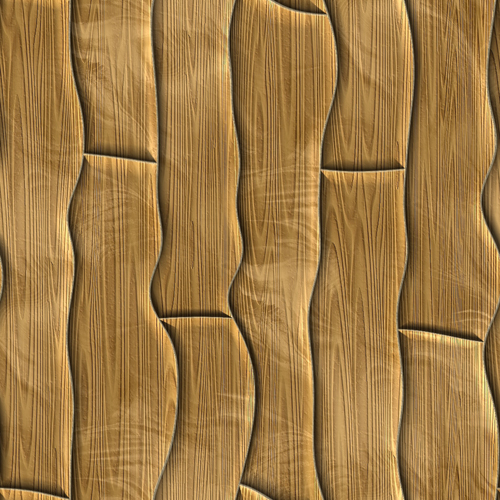
and this mask
Now go to Image > Resize > Image Size. While the Image Size dialog is on-screen, go to the menu and click the Window menu and choose the file name of the photo you’ll be applying the mask to now Click OK and the mask will take on the same dimensions as the photo.

From your tools menu click on the magic wand tool. Select the magic wand tool and set tolerance to somewhere between 100-200. The higher the number, the larger the selected area will be

From your tools menu click on the move tool and drag and drop from the mask image onto the photo. Before releasing the mouse button, hold down the shift key to center the object in the other document.

Click on image to see full size
Double click the background layer in the layers palette to convert it to a layer. Drag the photo above the mask that you just copied over. Type Ctrl-G to group this layer with the one below.